
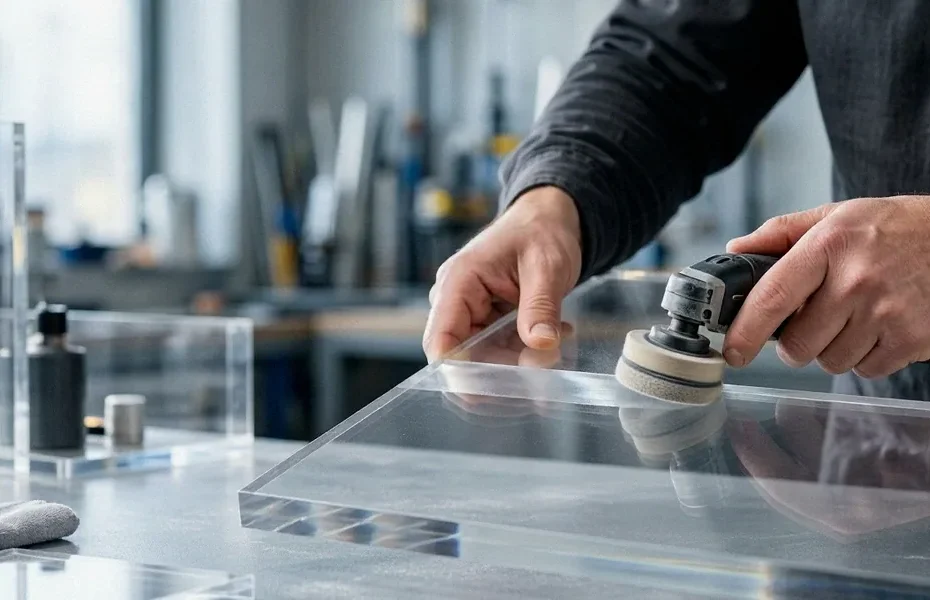
Polishing Acrylic Edges: A UK Guide to Flawless Finishes
You have just lifted a freshly laser-cut acrylic display from the bed, peeled back the protective film, and there it is — a milky, rough edge that catches the light and lets down an otherwise perfect piece. We see this constantly from UK makers and small fabrication businesses. The cut is accurate, the dimensions are spot on, but the edges look unfinished. Polishing is the step that separates a hobby project from a professional product, and it is the one most people skip. In this guide, we walk through exactly how to take acrylic sheet and Perspex edges from cloudy to glass-clear using tools you can buy from UK suppliers, plus the techniques our team uses daily.
Why Polished Edges Matter for Acrylic Fabrication
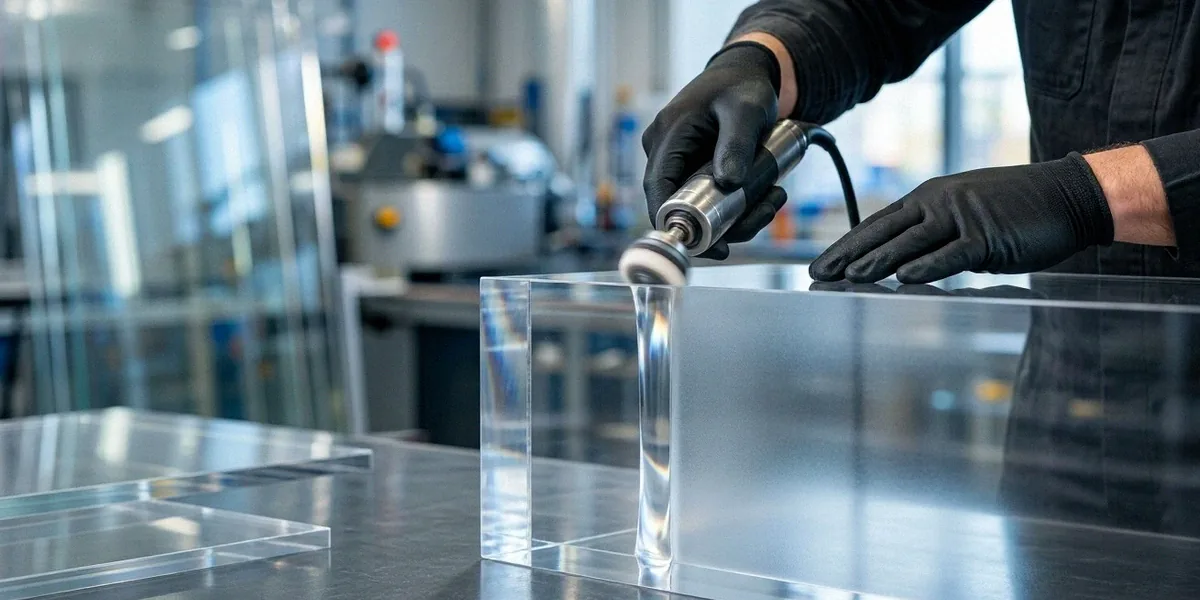
An unpolished edge is not just a cosmetic problem. It changes how the whole piece performs, how safe it is to handle, and how customers judge the quality of your work. UK makers often treat polishing as an optional final touch, but in reality it is part of the fabrication process, not an afterthought.
Aesthetic and Safety Benefits
A flame-polished or buffed Perspex edge takes on a glass-like clarity that makes the material look far more expensive than it is. Retail displays, menu holders, and point-of-sale stands live or die on this detail. There is also a practical side: saw-cut and router-cut edges can be sharp enough to cut fingers, and rough edges trap dust, adhesive residue, and cleaning fluid. Over time that grime works into the surface and becomes almost impossible to remove. A polished edge wipes clean in seconds.
How Polishing Affects Light Transmission
Acrylic sheet transmits around 92% of visible light through its face, but a rough edge scatters light in every direction instead of letting it pass through cleanly. This is why unpolished edges look white or frosted rather than transparent. When you polish an edge properly, light travels through the material with minimal scattering, which is essential for edge-lit signs, light guides, and any display where the edge itself is meant to glow.
Tools and Materials for Edge Polishing
You do not need a full workshop to get good results, but you do need the right abrasives and compounds. Buying cheap sandpaper is a false economy — it clogs quickly and leaves deeper scratches than the grit suggests.
Sanding and Buffing Equipment
Our standard kit for acrylic edge work includes:
- Wet-and-dry sandpaper in grades 400, 800, 1200, 1500, and 2000
- A flat sanding block or rigid backing pad to keep edges true
- A variable-speed polisher with a soft cotton or microfibre buffing wheel
- A spray bottle of water with a drop of washing-up liquid
- Masking tape to protect faces near the edge being worked
A variable-speed polisher matters because acrylic generates heat fast. Fixed-speed machines run too hot and cause crazing before you realise what is happening. UK suppliers such as Trent Plastics and Simply Plastics stock sanding kits, buffing wheels, and polishers aimed specifically at plastic fabrication, so you can source everything in one order.
Polishing Compounds and Their Uses
Novus polishing compounds are widely used for acrylic and come in a three-stage system: Novus 3 for heavy scratches, Novus 2 for fine scratches, and Novus 1 as a final clean and shine. Brasso also works on Perspex and is easy to find in UK hardware shops, though it is better suited to final finishing than scratch removal. For a mirror finish, apply compound sparingly to a spinning buffing wheel and keep the wheel moving — never let it sit in one spot.
Step-by-Step Guide to Polishing Acrylic Edges
The process is straightforward but rewards patience. Rushing any stage means going back to a coarser grit and starting again.
Wet Sanding Technique
Start with 400-grit wet-and-dry paper and keep the surface flooded with water. Sand in one direction along the edge, not in circles, and use a block to avoid rounding the edge profile. Work through 800, 1200, 1500, and finally 2000 grit, changing the sanding direction by 90 degrees at each grade so you can see when the previous scratches are gone. Wipe the edge dry between grades. One note for UK workshops: our humidity can slow drying times considerably, so allow extra time before moving to buffing, or the compound will slurry instead of cutting.
Flame Polishing: Risks and Rewards
Flame polishing with a hydrogen-oxygen torch gives a glass-like finish in seconds, and it is the method many UK fabricators use on straight Perspex edges. The reward is speed and clarity. The risk is that acrylic has a narrow window between melting and burning — too slow and you scorch the edge, too fast and you leave it uneven. Practise on offcuts before touching a finished piece. Barkston Plastics supplies Perspex offcuts specifically useful for this kind of practice, and it is far cheaper to learn on scrap than on a customer order.
Final Buffing for a Mirror Finish
Once sanding is complete, mount a clean cotton wheel on your variable-speed polisher, set it to a low speed, and apply a small amount of Novus 3 or a similar cutting compound. Buff along the edge in steady passes, adding compound only when the wheel looks dry. Follow with Novus 2 on a fresh wheel, then finish with Novus 1 by hand using a soft cloth. The edge should read as transparent as the face of the sheet.
Common Mistakes and How to Avoid Them
Most failed polishing jobs come down to three errors: heat, pressure, and impatience. All three are avoidable with a bit of discipline.
Overheating and Crazing
Crazing shows up as fine internal cracks radiating from the edge, and once it happens the material is ruined. It is caused by friction heat building faster than the acrylic can dissipate it. Keep your polisher speed low, move constantly, and touch the edge with the back of your hand every few seconds — if it is too hot to hold, it is too hot to keep buffing.
Skipping Grits and Inconsistent Results
Jumping from 400 straight to 2000 grit does not save time; it hides deep scratches under a polished surface that reappear the moment light hits the edge at an angle. Work through every grade. Keep your passes even along the full length of the edge, and check your work under a bright light between stages. Inconsistent pressure leaves wavy reflections that are obvious on a finished display.
Polishing Different Acrylic Edge Types
Not all edges behave the same way, and the right approach depends on how the acrylic was cut and what shape the edge is.
Straight vs. Curved Edges
Straight edges are easy to sand with a block and polish with a wheel. Curved and intricate cuts need a softer backing pad and more hand work, and flame polishing becomes difficult because the torch cannot follow tight radii evenly. For curved edges, we usually sand by hand through the grits and finish with a small buffing mop on a drill or rotary tool.
Laser-Cut vs. Saw-Cut Edges
Laser-cut edges are typically smoother than saw-cut edges but often carry fine vertical striations from the beam. These usually need only light sanding from 800 grit upward before buffing. Saw-cut and router-cut edges are rougher and may need to start at 400 grit or even lower. Cast acrylic such as Perspex polishes noticeably better than extruded acrylic because its higher molecular weight gives a cleaner melt and a clearer finish. Many UK fabricators run a router along the edge first to true it up before any sanding begins.
FAQ
Can I polish acrylic edges without a buffing wheel?
Yes. You can hand-polish with a microfibre cloth and Novus 2 or Brasso, but it takes considerably longer and the finish is rarely as uniform as a machine-buffed edge. For small pieces and touch-ups, hand polishing is perfectly adequate.
Is flame polishing better than sanding and buffing?
Flame polishing is faster and gives an exceptionally clear edge on straight cuts, but it requires practice and carries a real risk of scorching or crazing. Sanding and buffing is slower but far more forgiving, especially on curved or intricate shapes.
How do I know when I have sanded enough?
Wipe the edge dry and look at it under a bright light. If you can still see scratches from the previous grit, keep going. Once the edge looks uniformly matte with no visible directional marks, you are ready to buff.
Does UK humidity really affect polishing?
It does. High humidity slows the drying of water used in wet sanding, which can leave residue that interferes with compound adhesion. Allow extra drying time in damp conditions, or wipe the edge with a clean cloth before buffing.
Where can I buy acrylic offcuts for practice?
Barkston Plastics is a reliable UK supplier of Perspex offcuts, and Trent Plastics and Simply Plastics also stock fabrication tools and materials. Practising on scrap before working on a finished piece is always worth the small cost.
Polishing acrylic edges is one of those skills that rewards patience more than equipment. Work through your grits methodically, keep the heat down, and practise on offcuts until the process feels natural. A well-polished edge transforms an acrylic display from something functional into something that looks genuinely professional — and once you can produce that finish consistently, your work will stand out in any UK market.